The “UDL Test” is a quick, easy, and flexible way to test connectivity to Microsoft SQL Server using a variety of installed providers/drivers using either Windows or SQL Authentication.
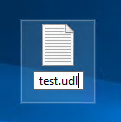
To get started, simply create a new text file on your desktop and give it a name:

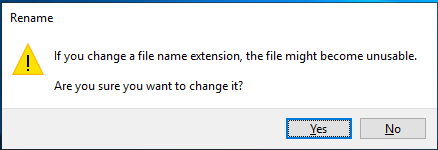
Change the file extension to udl:
You will get this warning:
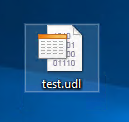
Click Yes.
The icon should change:
Now just double click to launch:
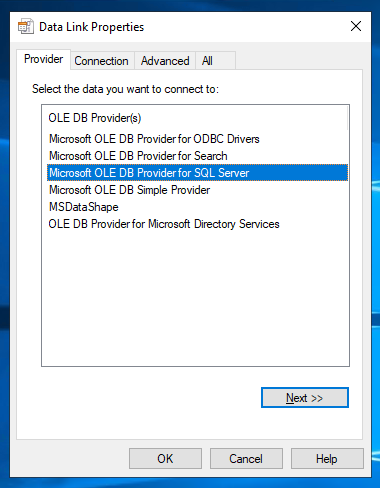
By default the Microsoft OLEDB Provider for SQL Server is specified but you can change the provider you want to use under the Provider tab:
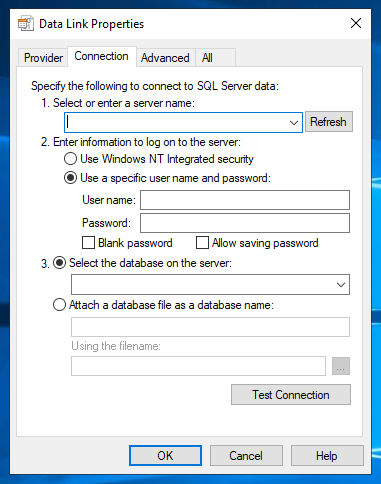
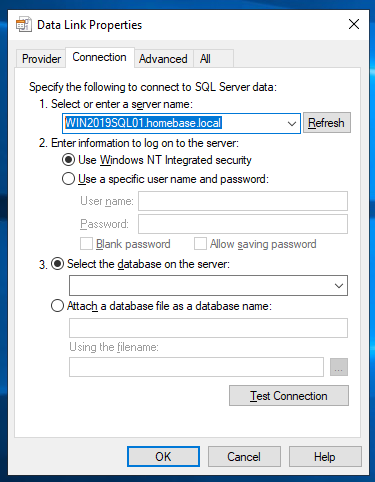
Under the Connection tab, specify the server name and credentials you want to use to connect to either a local or remote SQL Server instance:
NOTE: If you select "Windows NT Integrated security" the User name and password fields are greyed out. This is because the connection will use a token from the Windows account you are currently signed in with.
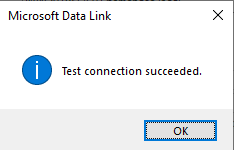
Lastly, click Test Connection and you should see either a “Test connection succeeded.” or “Test connection failed” pop-up:
NOTE: If you click the drop down for "Select the database on the server" this instantly tries to form a connection to master in order to return a list of available databases.